There is a common misconception that has frightened home cooks for generations: "stainless steel pans." We've all experienced it: you place a piece of chicken or an egg in a shiny pan, and it immediately sticks to the surface, resulting in a torn fillet and an annoying cleanup.
Is it true? The problem isn't with the pan; it's with our approach to heat. Stainless steel is not like a traditional non-stick pan; it is a high-performance tool that can yield incredible results with a bit of science. In this guide, we will teach you the most important skill to master in your stainless steel cookware: heat management.
"The Physics of Adhesion" (and How to Prevent It)
There is a fundamental reason why food sticks to the pan: a chemical bond forms between the food (especially proteins) and the metal. This occurs most aggressively when the pan is either very cold or very hot.
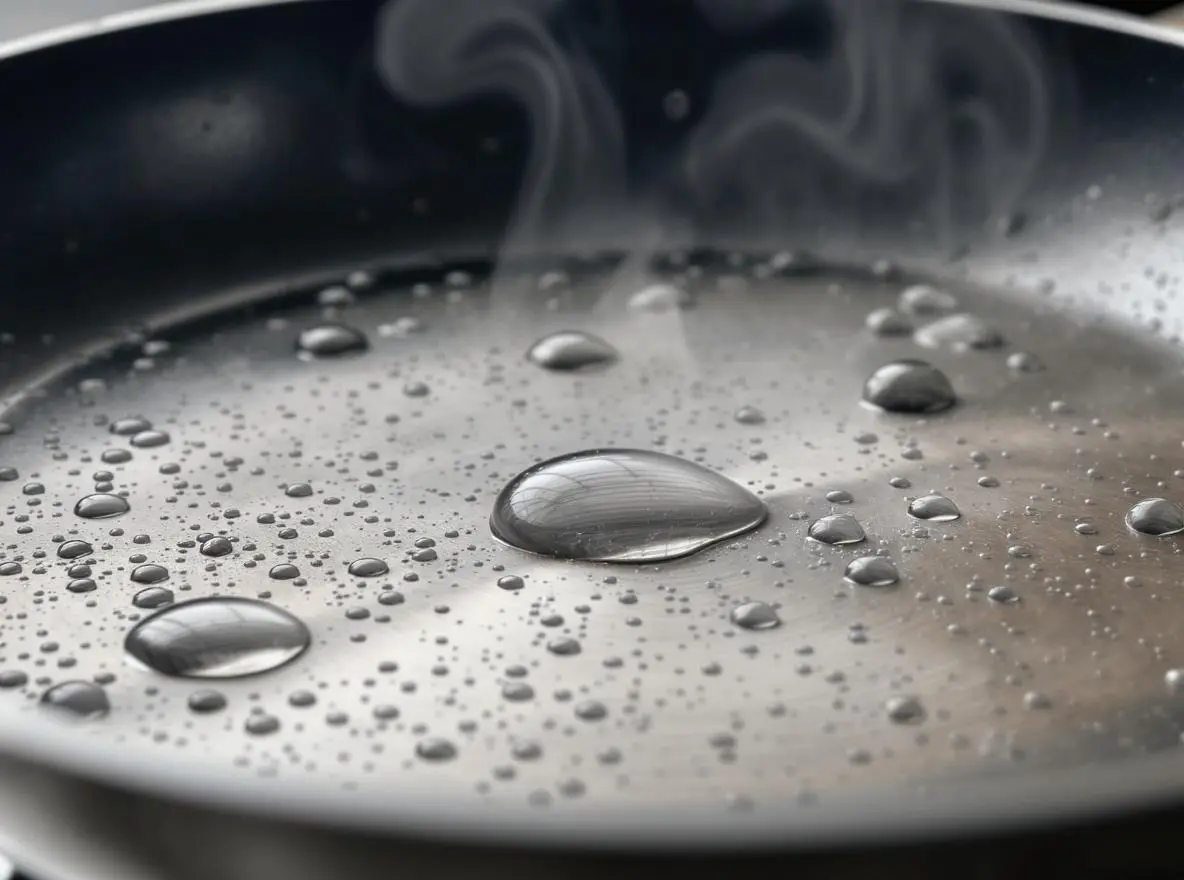
The goal is to hit the "sweet spot." This is where a phenomenon known as the Leidenfrost Effect comes into play. When a drop of water hits a pan at the perfect temperature (hot but not scorching), it doesn't just sizzle and evaporate; it dances on the surface on a cushion of its own steam.
This steam cushion is your magical layer. It creates a temporary, natural non-stick barrier by preventing the food from making direct molecular contact with the pan.
Pro Technique: Step-by-Step Guide
Are you ready to unlock the secret to perfect cooking? Follow these simple steps.
1. Preheating is Everything (Don't Rush)
This is the most critical step. Place your empty and dry Nomer Life pan on the stove over low heat. A high-quality, 3-ply pan is incredibly effective at retaining heat, so you rarely need to go above medium heat. Wait for it to heat up for 2-3 minutes.
2. The Water Drop Test
Stop guessing. Drop a small drop of water onto the pan.
- If it's hissing, sizzling, and steaming: It's not hot enough. Wait another minute.
- If it is breaking into many small, bouncing drops: Very hot! Remove from the heat, let it cool for a minute. bırakın ve tekrar test edin.
- If it creates a single (or a few) particles dancing like mercury: Perfect! Bullseye.
3. Add your oil now (and only now)
Add your cooking oil. It should start to shimmer immediately. Swirl it around to coat the bottom of the pan. The hot oil fills the microscopic pores in the metal, creating a second non-stick protective layer.
4. Add Your Meal
Place your food in the pan (dry it off as excess moisture will cause splattering). You should hear a confident, steady sizzle.
5. Golden Rule: Do Not Touch!
Here is where patience pays off. If you are frying steak or chicken breast, the proteins will stick at first when they start to cook. Let it be. As the Maillard reaction (browning) occurs, a crust will form on the food. Once the crust has formed, the food will signal that it is ready to be flipped by releasing from the pan.
What Will Happen to My Textured Non-Stick Pan?
The most surprising aspect of using a modern pan, like those with Nomer Life Micro-Dot surfaces, is how this technology enhances these results even further. The textured "peaks" reduce surface contact, and the preheating process creates an excellent oil barrier in the "valleys," providing a more effective and forgiving non-stick experience without the use of chemicals.
A new relationship with your pots and pans
Mastering stainless steel is not about learning a difficult skill; it's about breaking a bad habit and overcoming impatience. By respecting the simple physics of heat, you can transform your cookware from a potential source of frustration into your most powerful, precise, and reliable kitchen tool. This is the secret to unlocking real, professional-level results at home.
Buy the complete Ultra Cook™ collection and start mastering the use of heat from today onwards.